Introduction
Knowing how to properly repair plastic items is an invaluable skill that can save money while reducing environmental waste. As more and more plastic products enter our homes and workplaces, cracks and breaks are inevitable. Rather than throwing these items away and further adding to the plastic pollution crisis, simple repair techniques can often restore them to full working order. This article will provide DIY guidelines for gluing, welding, and sealing cracks in plastic using basic tools and adhesives.
Tools and materials for repairing plastic at home
The various plastic repair techniques each require specific tools and materials to be performed properly. Gluing and welding can restore integral strength to common cracks and breaks. More severe damage may need extensive patching or filling for structural repairs. Rivets and stitching serve to reinforce external stress points.
| Repair Method | Tools/Materials Needed | Best For |
|---|---|---|
| Gluing | Plastic adhesive, applicator, clamps | Small cracks, minor breaks |
| Welding | Soldering iron, sandpaper | Reconnecting broken pieces |
| Patching | Plastic scraps/sheeting, adhesive, scissors | Holes, missing sections |
| Solvent Bonding | Acetone, plastic shavings | ABS cracks & gaps |
| Epoxy Fill | Epoxy adhesive, stir stick | Filling cracks/gaps |
| Riveting | Drill, plastic rivets | Reinforcing cracked areas |
| Stitching | Plastic wire, needle nose pliers | External cracks/splits |
Understanding Different Types of Plastic
Before attempting any repairs, it’s crucial to identify the type of plastic you are working with. Common plastics used in consumer products include polyethylene (PE), polypropylene (PP), polystyrene (PS), polyethylene terephthalate (PET), and acrylonitrile butadiene styrene (ABS). The molecular structure of each plastic type varies, meaning they melt at different temperatures and require specific adhesives or solvents. Referencing the recycling code number printed on the item can often indicate the resin type. Once you’ve correctly identified the plastic, suitable repair methods can be assessed.
Repairing Cracked Plastic with Glue
Gluing provides an effective method for repairing small cracks, chips, and breaks in plastic items. When done properly, glued repairs can even be stronger than the original plastic. Follow these steps for best results:
Step 1: Prepare the Damaged Area
Examine the broken plastic piece and locate all cracks or missing fragments that need repair. Use a sharp knife to trim any loose overhanging pieces and create clean break lines. Gently smooth rough edges with medium grit sandpaper. This allows the repair surfaces to fit neatly together. Carefully clean the entire area with isopropyl alcohol using a lint-free cloth. Remove any oil, dirt or debris for optimal bonding.
Step 2: Select a Suitable Plastic Adhesive
Not all glues are effective for plastic. Standard superglues and epoxies may not adhere correctly. Specialty plastic adhesives are designed to chemically melt and fuse with plastic surfaces as they cure. These create the strongest repairs. Check product labels and choose an adhesive formulated for the specific type of plastic you are mending.
Step 3: Apply the Adhesive Sparingly
Too much glue prevents firm mating of broken edges. Add only a thin layer along repair seams using the applicator tip. For very small cracks, allow capillary action to draw glue inside before pressing tightly together. On clean breaks with little gap, adhesive may not be needed if surfaces join completely.
Step 4: Clamp Tightly While Curing
Proper pressure is vital during curing to strengthen the bond. Use spring clamps, vise grips or weighty objects to firmly squeeze repair areas together without slippage. Maintain steady force for the full adhesive curing time listed on instructions. Resist peeking or adjusting pieces before completely set.
Step 5: Allow Full Cure Before Handling
Give the glue several additional hours after recommended curing time to fully harden before flexing or stressing the repaired plastic. Wiping away any visible excess adhesive once set can give a neat appearance but risks weakening bonded edges. The repaired area is now ready for normal use!
Using Adhesives
Specialty adhesives designed for plastic bonding generally provide reliable repairs for cracks and minor breaks. Cyanoacrylate “super glues” offer quick drying one-component bonds while epoxy-based adhesives are slower curing but form incredibly strong repairs. For softer plastics like PVC, look for solvent cements that slightly melt surfaces then fuse them together. Always check that the adhesive is compatible with the specific type of plastic you are attempting to repair.
| Adhesive | Suitable Plastics | Strength | Best Uses |
|---|---|---|---|
| Plastic Glue | PE, PP, PS | Medium | Minor cracks |
| Super Glue | Most plastics | Low-Medium | Small repairs |
| Epoxy | PET, PU, ABS, PC | Very High | Structural bonds |
| Solvent Cement | PVC, CPVC | High | Pipe fittings |
Following these basic steps for gluing cracks and breaks can give plastic items a second life rather than becoming unneeded waste. With a quality plastic adhesive and little effort, even severe damage can be restored.
I successfully used this method when the handle cracked off a plastic bucket. After making sure the broken surfaces were smooth, I bonded the handle back in place with a multi-purpose plastic glue and clamped tightly for 10 minutes. The repaired handle is still firmly attached after several months of regular use!

How to seal cracked plastic with welding ?
Plastic welding melts and fuses broken edges back together using controlled heat from a soldering iron.
Step 1: Prepare the Damaged Plastic
Thoroughly clean and dry all surfaces to be welded. Use a file or medium grit sandpaper to rough up smooth edges which increases bond strength. Remove any grease, oil or dirt with isopropyl alcohol that could weaken the weld. Proper preparation is vital.
Step 2: Select a Low-Temp Soldering Iron
The ideal tool for plastic welding is an adjustable temperature soldering iron around 40-80 watts. This allows precise control of heat. Ensure the iron can reach temperatures aligning with the melting point of the plastic type being repaired. Refer to manufacturer guidelines.
Step 3: Set Heat for the Plastic Type
If unknown, identify the specific plastic first. Common consumer product plastics like ABS, polyethylene and polypropylene melt between 200°F and 375°F degrees. Set tool temperature based on the particular plastic. Excessive heat risks fire and burning rather than clean welds.
Step 4: Weld Edges Carefully
When the soldering iron reaches ideal temp, lightly melt both sides of a crack together moving slowly along the break. Apply firm pressure as you go to fuse the plastic into one solid piece. Reheat and smooth any uneven sections before removing heat completely.
Step 5: Allow Bonds to Set
Give freshly welded seams at least 60 seconds to fully harden while continuing to hold repair pressure steady. Avoid movement or flexing of melted areas until bonds have cooled completely. The plastic is now integrally rejoined!
With the right soldering tool and technique, broken plastic can be reliably fused back into a durable, long-lasting state. When in doubt, consult a professional plastic welder for more complex repairs requiring extensive rebuilding.
One effective use was mending the cracked lid of a storage bin. I set the soldering iron to 300°F based on the PP plastic then smoothly welded both sides of the small crack together. Plastic welding created an extremely durable repair much stronger than the original lid.
Plastic Patches
When holes or missing pieces of plastic are too large for filler, bonded patches offer an alternative repair method. Cut an oversized patch out of a similar plastic item, roughen the surface for better adhesion and bond in place with a suitable adhesive or hot glue. Where appearance matters, carefully match patch color to the original for discrete mending.
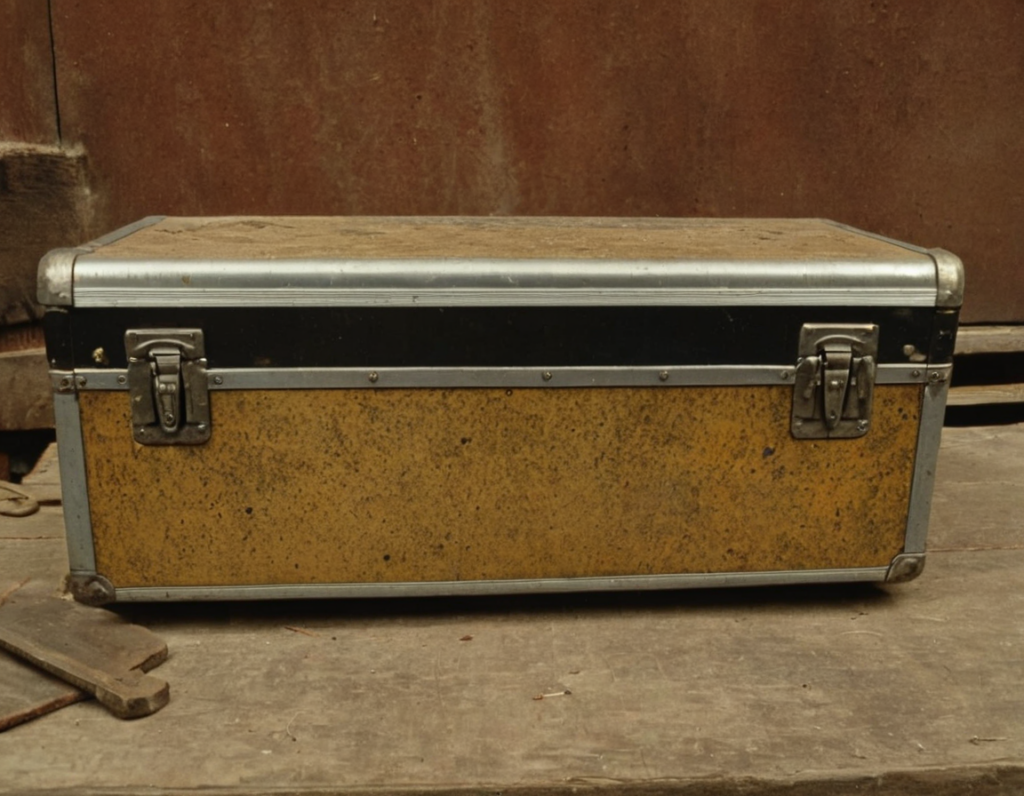
I successfully patched a large split along the side of an old plastic tool case using these techniques. After cleaning and sanding the broken area, I hot glued a matching shaped piece of plastic cut from a detergent bottle to the inside of the crack. Once painted, the repair was made seamless.

Protecting Yourself During Repairs
When welding, gluing, or otherwise manipulating plastic, safety must be the top priority. Toxic fumes, extreme heat, and potential projectile shards pose serious risks if proper precautions aren’t taken. Use these guidelines to avoid harm.
Respiratory Protection
Molten and burned plastic releases a hazardous mix of volatile gases. To avoid breathing particles, always use an N95 rated respirator mask equipped with organic vapor cartridges. Activated carbon filters out damaging fumes. Proper fit is essential for mask effectiveness.
Hand and Body Covering
Thick work gloves provide insulation against blistering heat while handling hot tools or melting plastic. Leather or natural fiber long sleeve shirts and pants prevent burns from sparks and globs. Synthetic fabrics can ignite easily near flames – avoid them. Tie back or cover hair.
Eye Shields
Shatter-resistant goggles with polycarbonate lenses offer complete protection for eyes. Wrap-around guards shield from all angles. When working near others, recommend they also wear ANSI Z87.1 rated eye protection. Never take risks with vision.
Ventilation
Drawing fumes away from the breathing zone remains crucial. Use exhaust fans in workshop areas whenever possible. Blow or sweep away plastic dust accumulation to prevent concentrated vapors. Open doors and windows to keep fresh air flowing.
Handle hot plastic surfaces with extreme caution as if you were entering a hazardous work environment – because you are! Following these common sense recommendations greatly reduces the risks.
Conclusion
Repairing cracked, warped, or broken plastic products promotes sustainability by giving used goods extended life instead of adding them directly to landfills. In many cases, even severe damage can be made virtually invisible through simple methods like gluing, welding filler patches, or even stitching. With some patience and the right tools, we can each do our small part to reduce society’s dependence on single-use plastics.
Can all plastic be repaired?
While many cracks and breaks can be restored, certain plastics are too fragile for DIY repairs. Consult a professional before attempting to fix valuable objects.
What safety measures should be taken?
Proper ventilation, protective gloves, and respirators safeguard against dangerous fumes from adhesives. Follow all warning labels.
How long do plastic repairs last?
Correctly performed repairs can even strengthen plastic. But environmental factors ultimately determine long term durability.


![5 Best Welding Respirators - [Welder's Mask] Expert Review 2024 5 Best Welding Respirators – [Welder’s Mask] Expert Review 2024](https://welding-world-awards.com/wp-content/uploads/2023/11/top-5-welding-respirators-768x768.png)


